|
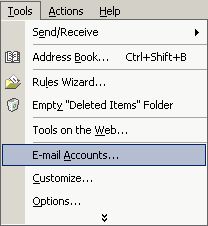
Start Outlook 20002. Go over to the Tools drop-down menu and select the Email Accounts... menu item.
You will now see a screen called E-mail Accounts. Under the "E-mail" heading, be sure that "Add a new e-mail account" is
selected by clicking on the appropriate circle. Then click "Next >".
The next screen will appear, asking you to choose the type of server. Select POP3 by clicking on the
circle next to "POP3", and then click the "Next >".
The next screen handles your e-mail settings. Under "User Information", enter in the following:
- Your Name: is the name you want people to see when they get email from you.
- E-mail Address is the address you want replies to go to (usually the same as your email address, username@edenhosting.net).
Under "Server Information", enter the following:
- Incoming mail server (POP3) is tpyically mail.yourdomain.com or, if specified otherwise, mail.edenhosting.net (all in lower case).
- Outgoin mail server (SMTP) should be smtp.edenhosting.net (all in lower case).
Under "Logon Information", enter the following:
- User Name is the username that was issued to you by Eden Hosting. (all in lower case)
- Password is the password that was issued to you by Eden Hosting. (all in lower case)
Once you have finished, click the Next. When
the next screen opens, click the Finish button to complete the wizard
process. You have now completed the creation of a e-mail account
in Outlook 2002 (XP).
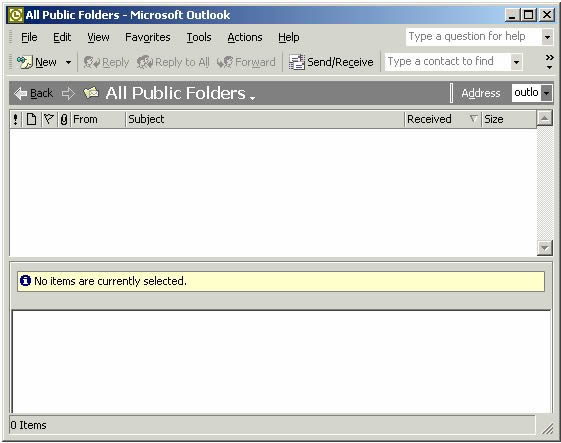
Now to retrieve your mail, click on the Send/Receive button located within your Outlook toolbar.
|